MB-339 Basic Course (DCS)
Simplified Procedures in Detail
8. Normal Landing
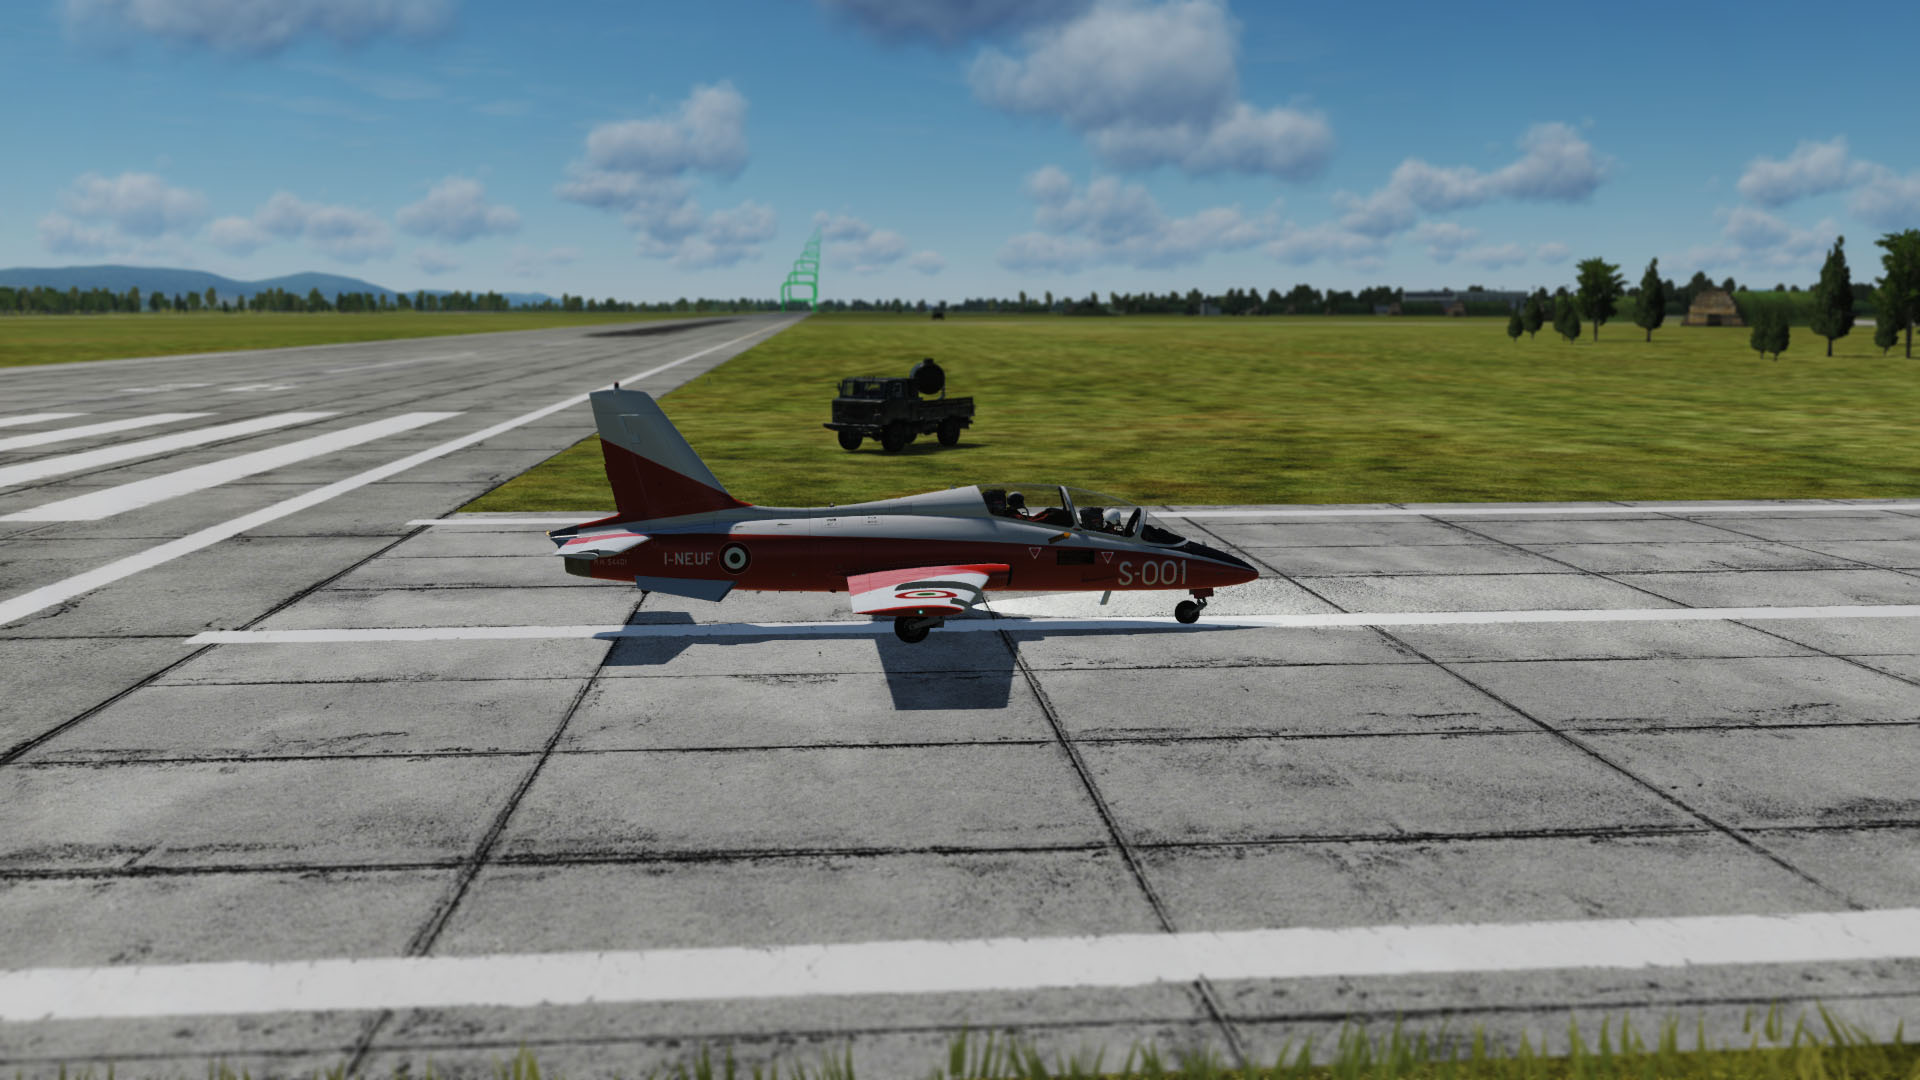
Each mission ends successfully only when pilot and machine can reach the parking position undamaged and handover the aircraft to the ground crew. So that you do not forget anything when landing, it is necessary to work through the procedures of the checklist. There are various ways to fly to an airport. But they will be covered in the advanced courses which explain the various approaches.
The standard approach to an airport is on a 3 ° glide path. In this Aircraft Basic Course the Normal Landing with 3 ° glide path is described in detail. In our practice mission, we have built a visual aid in the form of green gates. If you follow this course and follow the instructions below, it should work quite well.
Training Mission
This one starts at a point 13 miles away from the airfield and at 3,400 feet altitude. Two miles ahead of us is the glide path at the same height. We have marked this point with the first green guidance box. Just fly to it and work on the following list quickly. As soon as you reach the first box, you start descending to the next box and continue working the list.
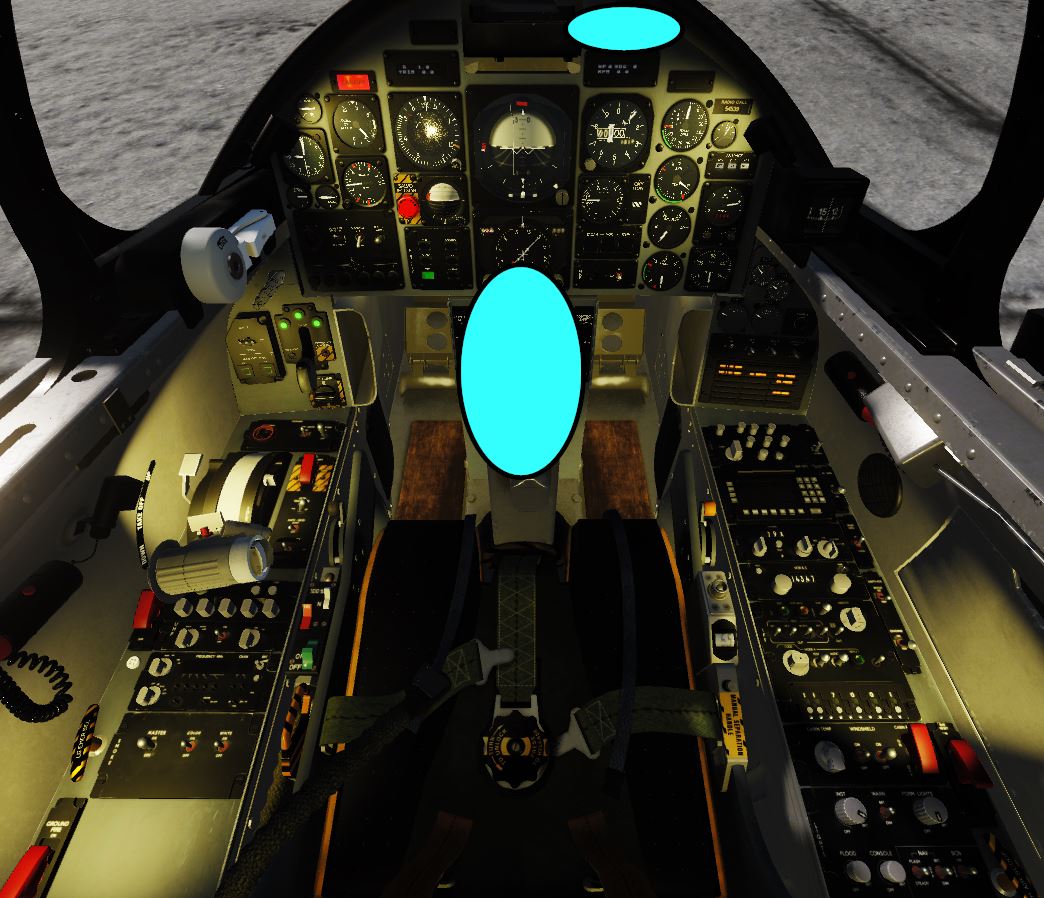
Before Landing Checks
-
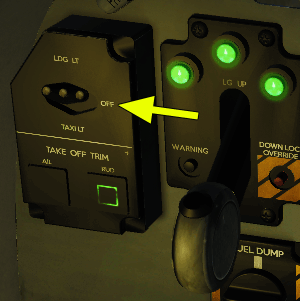
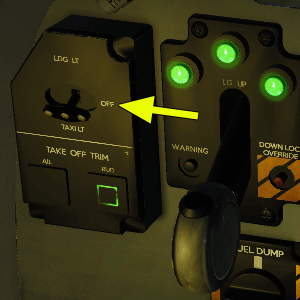
- Set your Landing Light to Landing, LDG LIGHTS ON LSP
 |
 |
- Set your altimeter to the QFE of the course, which you either got from ATC or took it from the mission description
ALTIMETER SET IP-R
 |
 |
If entering the Airfield Pattern straight in (as the mission)
- Reduced to 60% RPM and the Speedbrake. SPEEDBRAKE OUT HOTAS
- Once you have slowed below 175 knots, you can extend the Landing Gear, GEAR DN and LOCKED / THREE GREENS LSC
- Retract the Speedbrake. SPEEDBRAKE INHOTAS
- Lower first stage of Flaps to Take-off, FLAPS T/OLSP
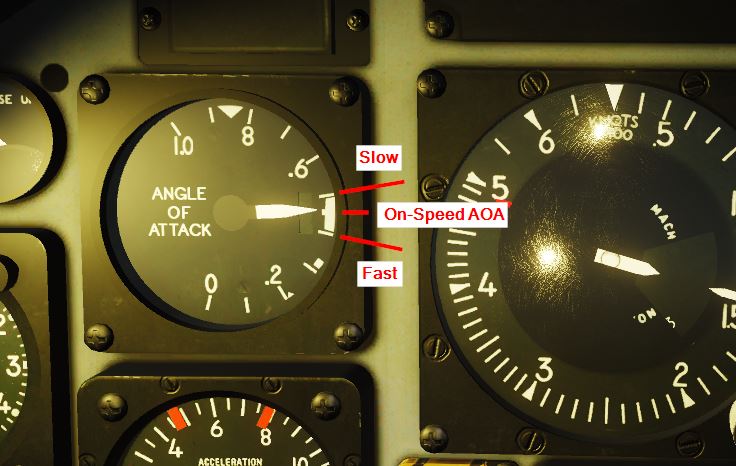
- The aircraft's speed will be reducing so progressively trim up to compensate. The AoA Indicator will move into the White band indicating "On-speed" AoA
- Increase power to catch about 140 kts.
- Select Full Flaps, FLAPS DOWNLSP
- Allow the aircraft to slow to 130 kts continuing to trim up to keep On-speed AOA
Final
Start the descent at the first or at the second green gate.
Correct left or right errors calmly, but positively determined to "Fight for the Centre line". The green guidance gates will show you the 3° glide path.
Use the approach through the guidance gate to get a visual impression of what a 3° glide slope landing should look like.
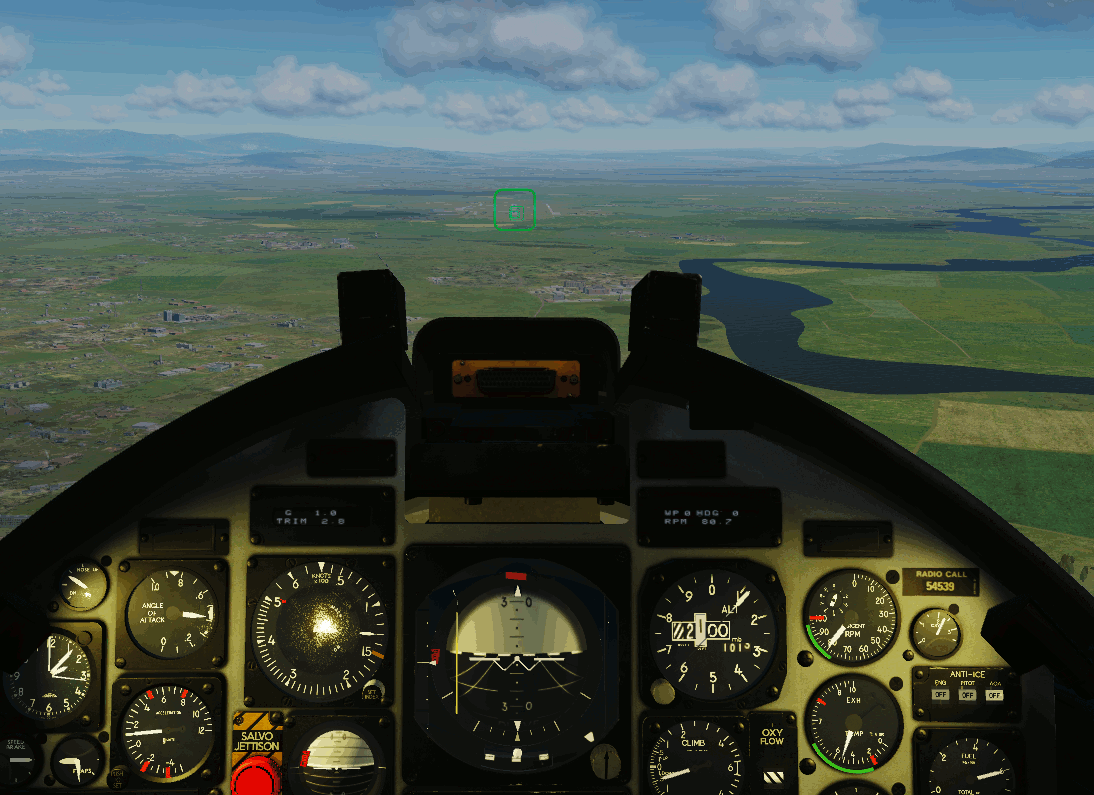
Maintain inbound on Runway 07’s accurate heading of 068⁰.
- Fly visually to the runway threshold. Correct left or right errors calmly, but positively determined to "Fight for the Centre line".
- Trim the plane in pitch so that the AOA (Angle Of Attack) indicator on the left side of the cockpit is in the middle of the white landing peg.
To fly on the correct glide path use thrust, so observe the position of the threshold in the windscreen. It should remain stationary with everything around it expanding.
- If your glide path is too steep (more than 3°), or the threshold is moving down the windscreen, then slightly reduce the engine thrust. The plane will start to drop steeper, leading you back to the correct glide path.
- If you are too shallow (less than 3°) or the threshold is moving up in the windscreen, then give more thrust.
The engine reacts very slowly, especially with throttle settings below 60%, therefore anticipate with the thrust lever.
Once the sinking rate starts to change, you usually have to readjust in the opposite direction.
Practice makes perfect.
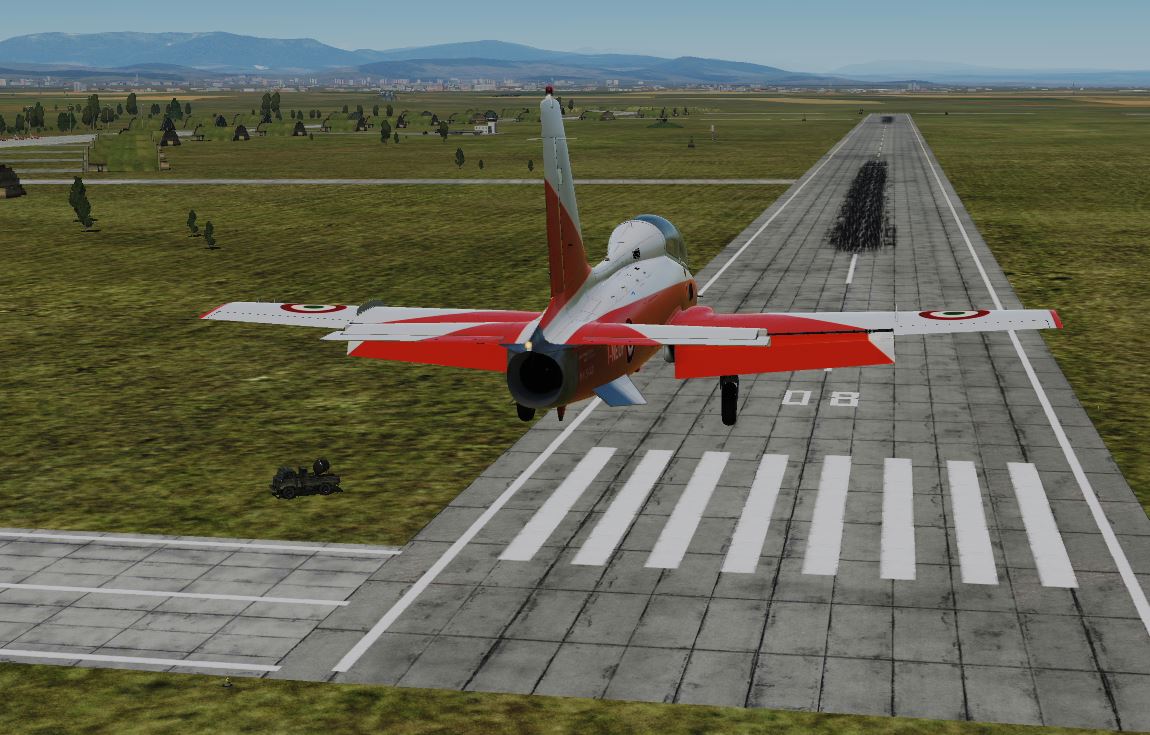
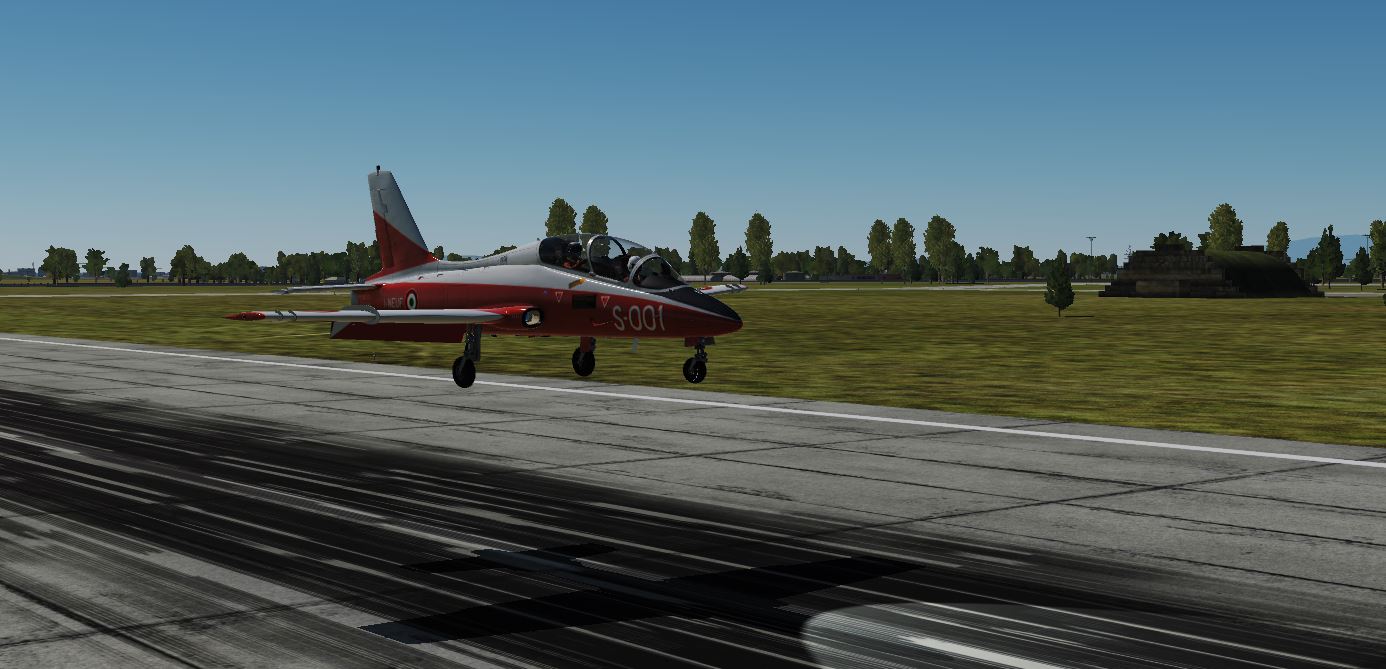
- If your glide slope and AOA are correct, maintain this attitude to just above the threshold.
- As you arrive at the threshold transfer your gaze to look at the far end of the runway and perceive the ground approaching.
- Just short of the ground reduce the thrust to IDLE and lightly pitch up slightly to flare without climbing. This will reduce the rate of descent.
- Hold this attitude too wash off the remaining speed and touch down.
- After landing, keep the aircraft straight initially with rudder and then differential braking to remain centred on the runway.
- Press the wheel brakes to reduce the aircraft speed BRAKES ON PEDALS or .
You can go to also use the speedbrake SPEEDBRAKE ON HOTAS or .
- Activate the nose wheel control, NOSEWHEEL STEERING ENGAGE HOTAS
 |
 |
- Vacate the runway at the next exit. Pass the Hold line and stop.
After Landing Checks
- Retract the Flaps, FLAPS UP LSP
- If used for Aerodynamic brake, retract the Speedbrake, SPEEDBRAKE RETRACT HOTAS
- Turn on the Taxiing lights, TAXI LIGHT ON LSP
 |
|
- Turn off the anti-ice systems, if they were turned on, ANTI-ICE PITOT OFF / ANTI-ICE ENGINE OFF RSP
 |
 |
- Secure the Ejection Seat with the Safety Pin (on the left side of the Canopy) SEAT SAFETY PIN INSERT IP-L
 |
 |
Now taxi to the parking stand of your choice and stop.
Up Next
In the next section, we will focus on shutting down the machine.