MB-339 Basic Course (DCS)
Simplified Procedures in Detail
5. Before Take-off Checks
For the following steps, use the training mission 01 System Start. Alternatively, use 02 Taxi.
Having stopped at the Hold, the following checks are carried out:
- Set the fuel transfer switch according to the refuelling of your aircraft, FUEL TRANSFER SET LSC-F
If both Pylon Tanks and Tip Tanks are filled, first empty the Pylon Tanks and then the Tip Tanks (FUEL TRANSFER PYL).
For single-pilot operation with 500 litre (400kg) Tip Tanks and Pylon Tanks, the following sequence is recommended for a more favourable Centre of Gravity:
- Select Pylon Tank (PYL) during engine start, to leak test the system
- Select Tip Tanks (TIP) during take-off and climb up to approx. 300 kg residual fuel
- Select Pylon Tanks (PYL) until empty
- Select Tip Tanks (TIP) until empty
 |
 |
- Landing Light ON, LDG LIGHTS ON LSP
 |
 |
- Switch on Pitot Heater, ANTI-ICE / PITOT ON RSC-M
 |
 |
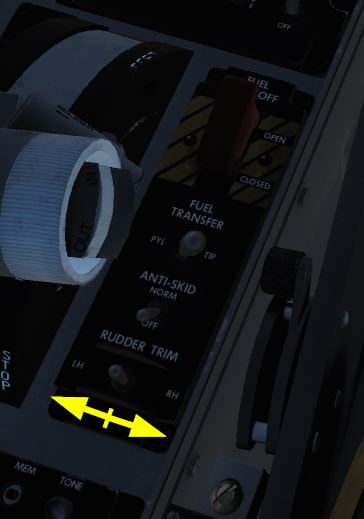
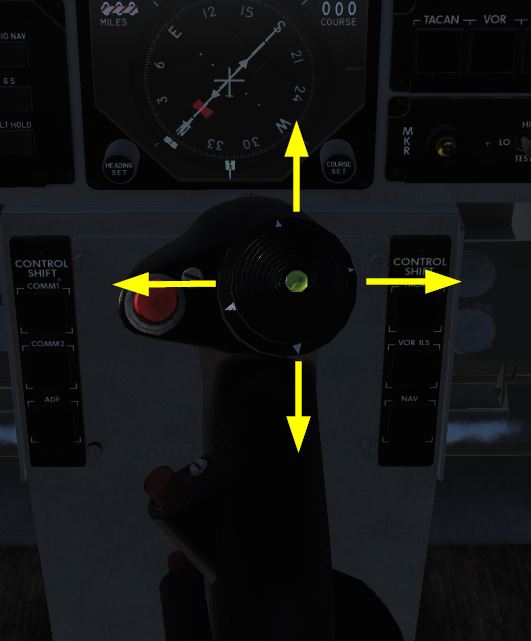
- Set the Trims to Neutral HOTAS and RUDDER TRIM IP-L
|
|
|
|
|
|

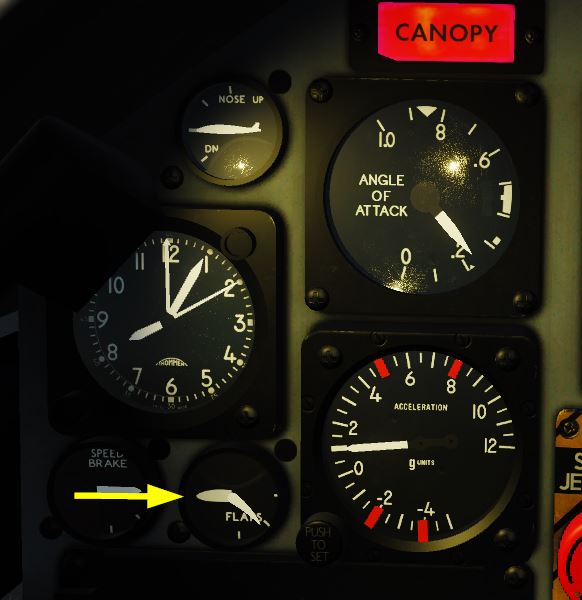
- Verify / Set the Flaps to Take-off FLAPS T/O IP-L
 |
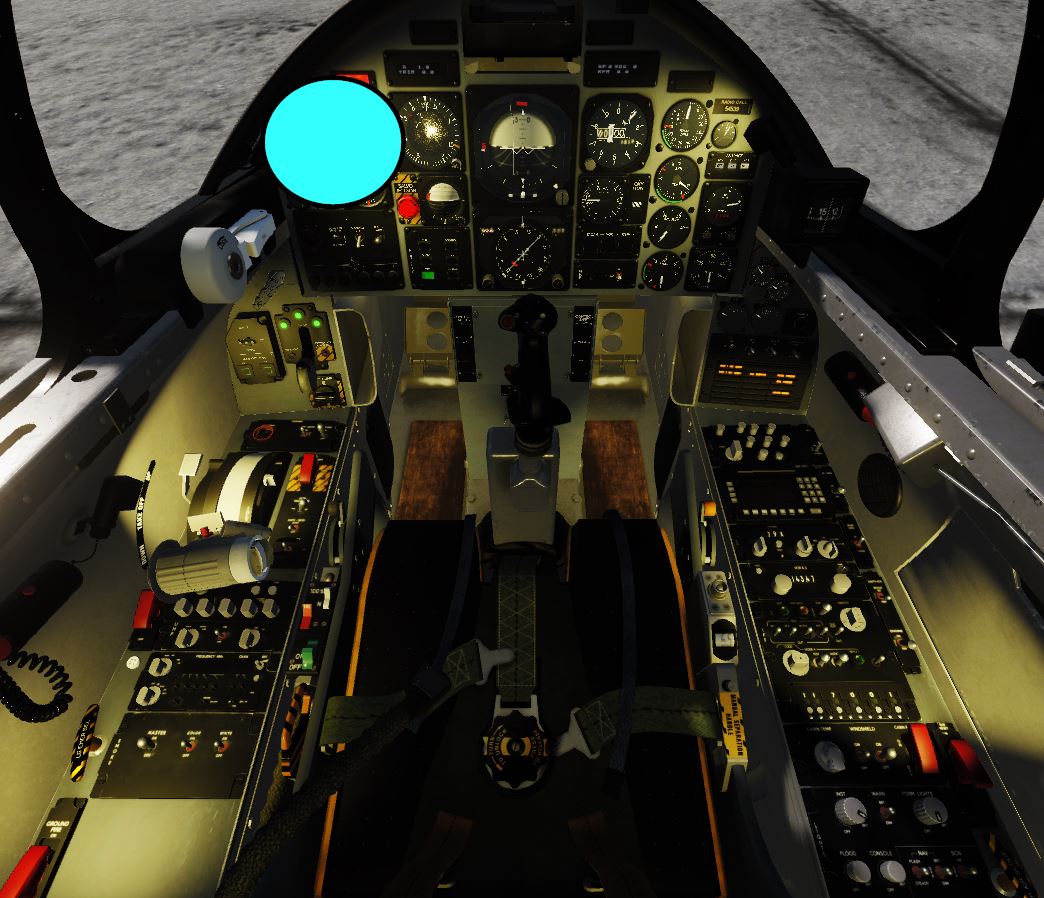 |
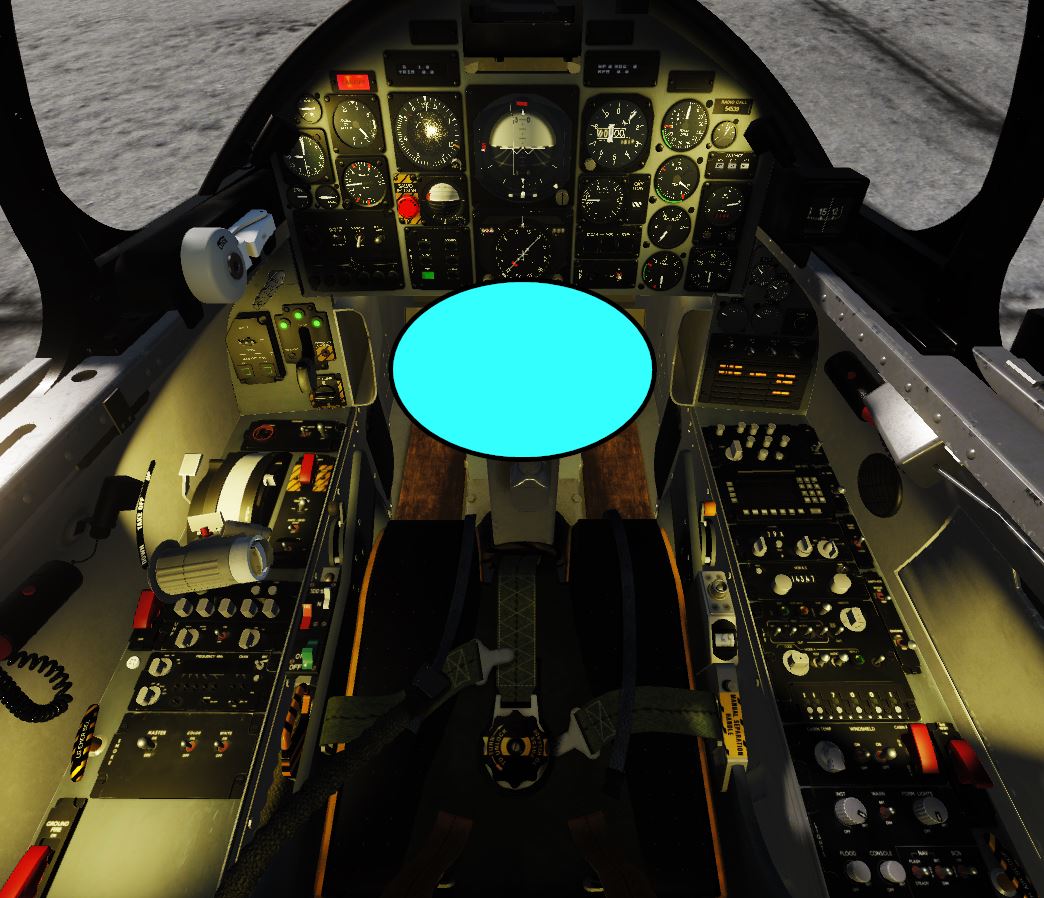
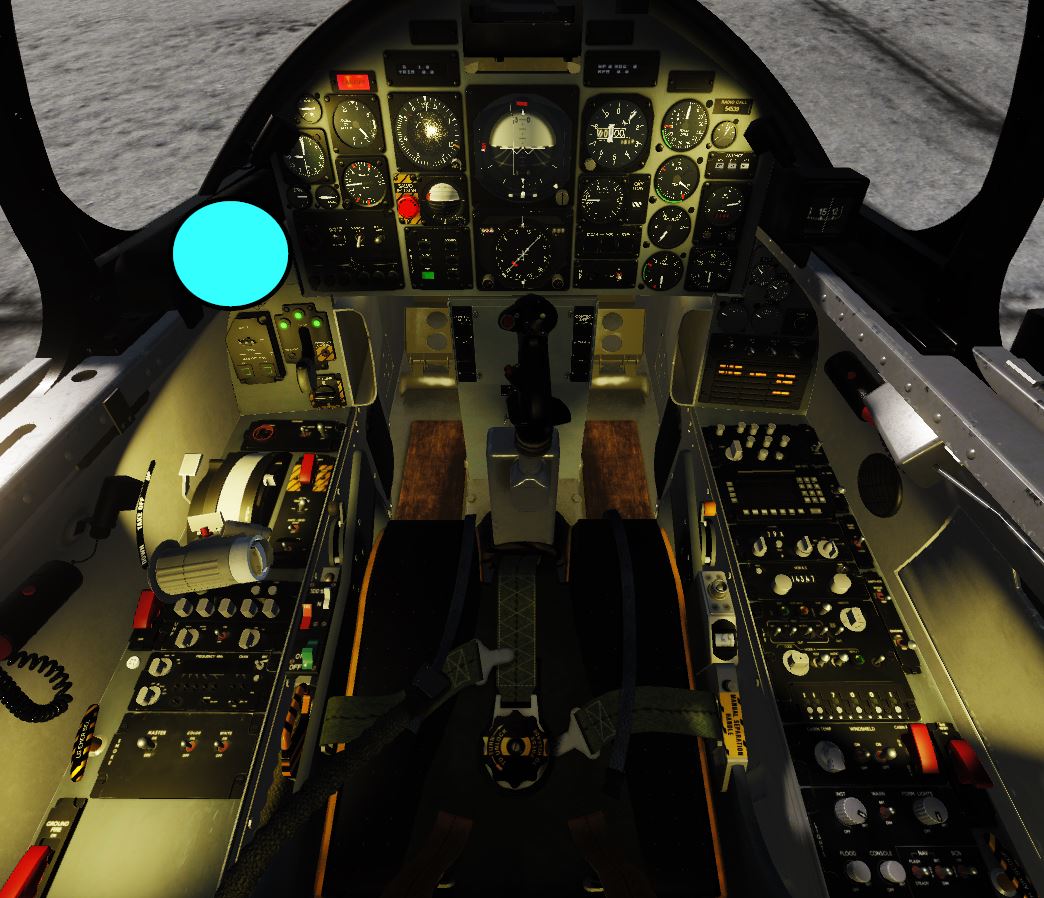
- Check the Canopy is Closed and Locked. CANOPY CLOSE and LOCK IP-L
|
|
 |
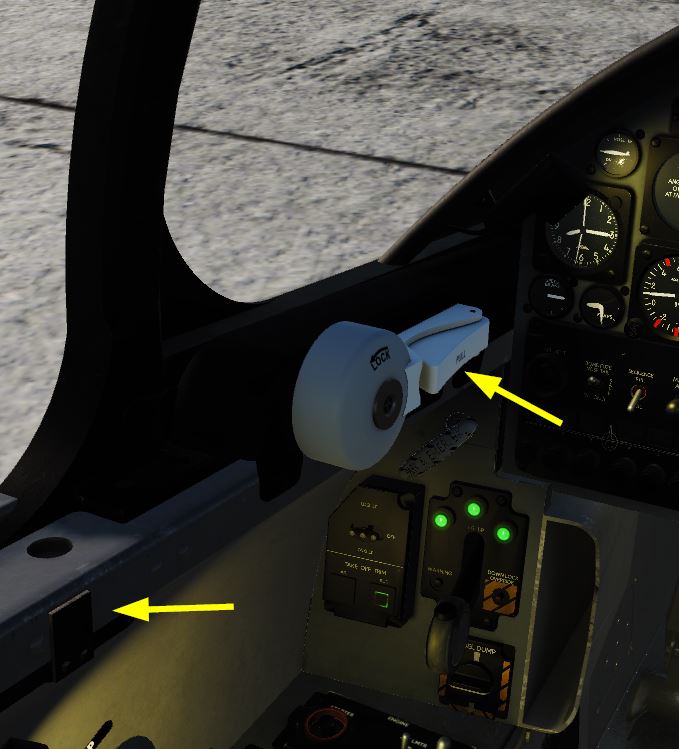
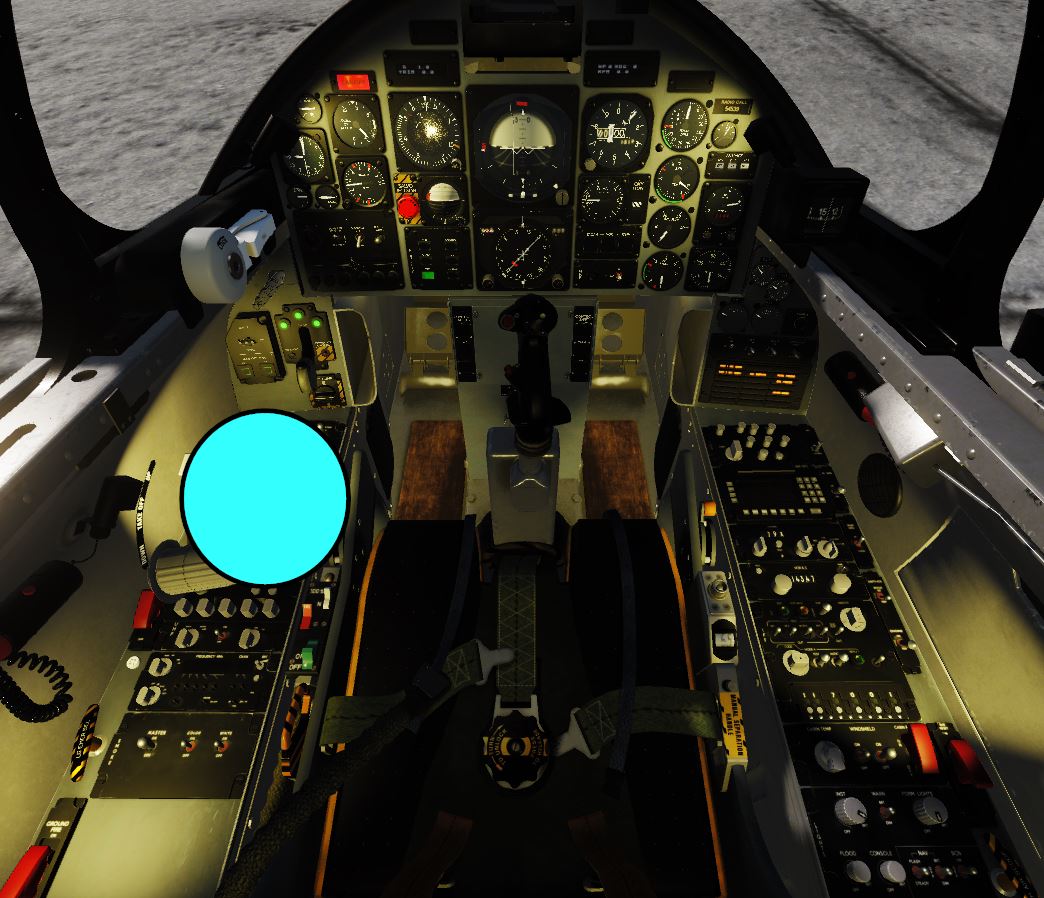
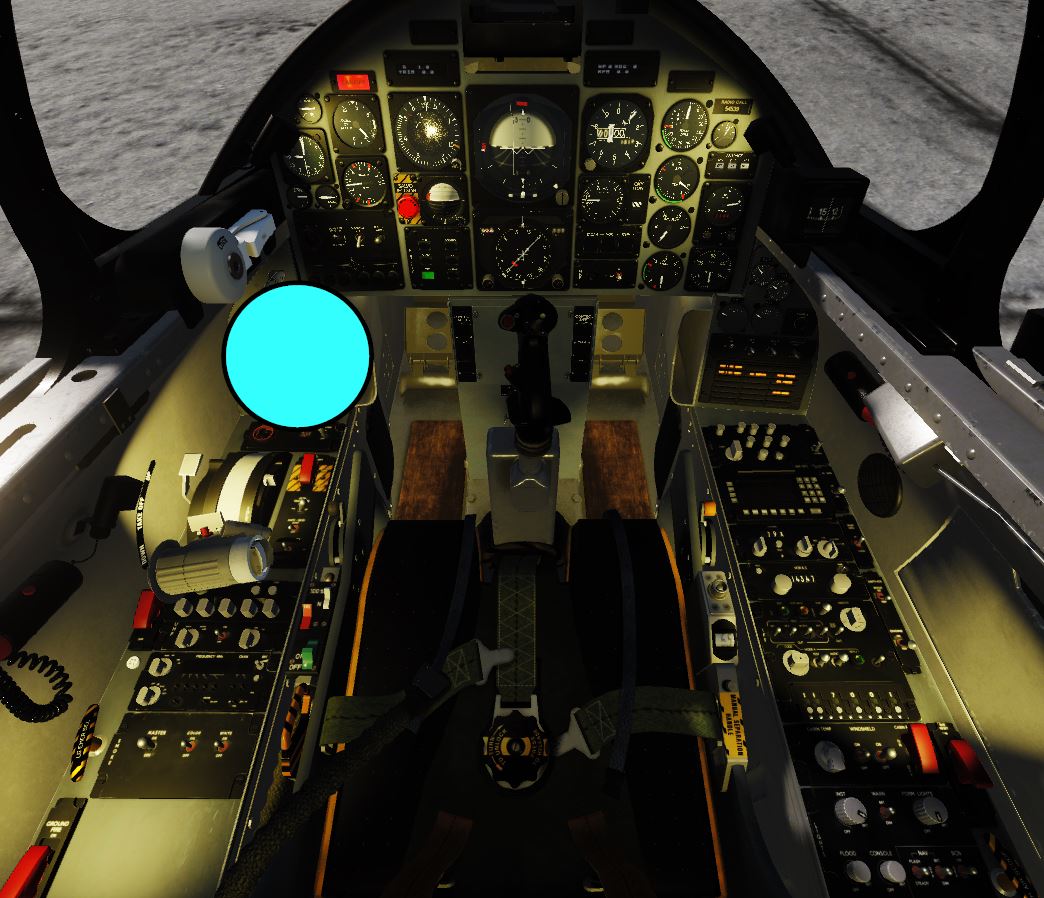
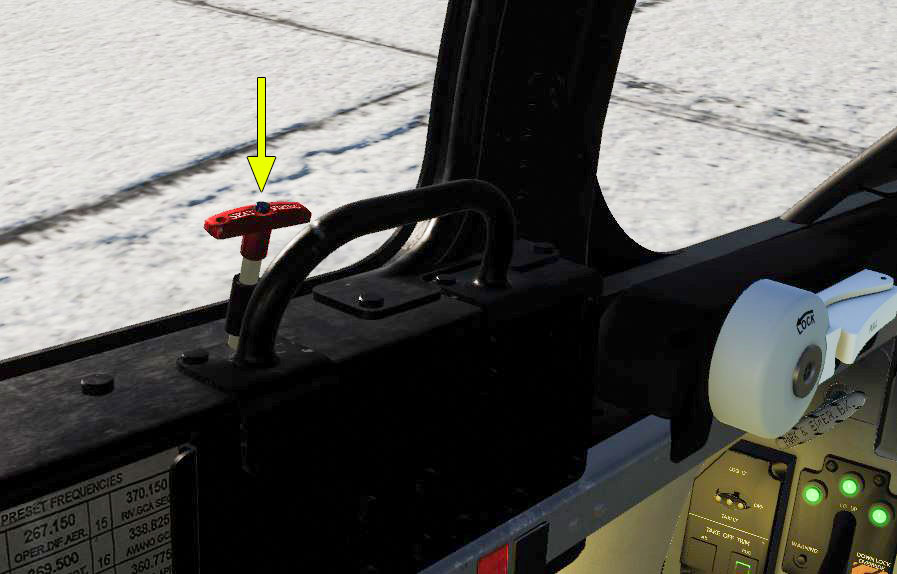
- Activate the Ejection Seat, SEAT SAFETY PIN REMOVE SEAT. To arm the ejection seat, pull the Seat Safety Pin out of the seat (between the seat and the joystick). It will automatically be stowed by the game in the Bracket
  |
 |
- One last time before lining up, check all instruments for faulty displays or values outside the normal operating range, INSTRUMENTS CHECK IP and RSP
- Check that all warning and caution lights are off, CAUTION WARNING LIGHTS OUT RSC
 |
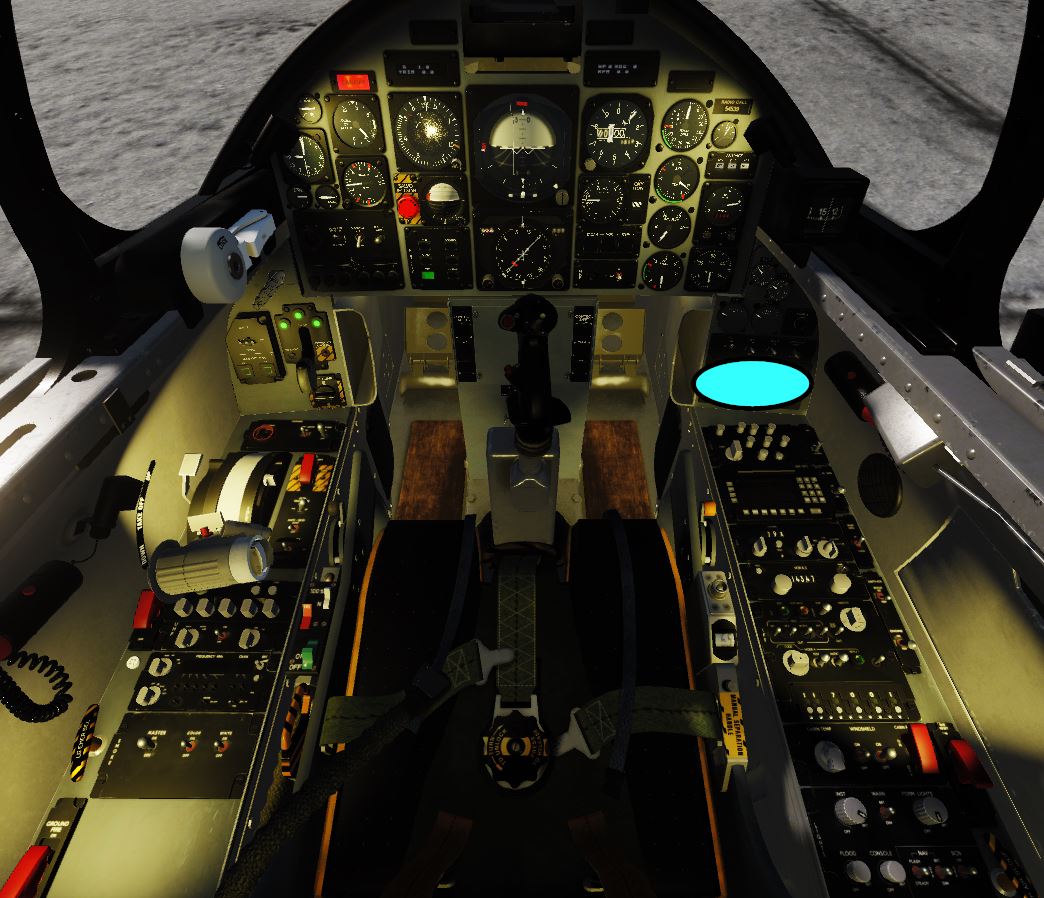 |
- Set the external and internal lights as needed, INT / EXT LIGHTS AS REQ'D RSC
- First, take a look around to the right and left to see that there is no other aircraft in the approach.
”Clear on Approach, Threshold, Runway and Departure Lane”

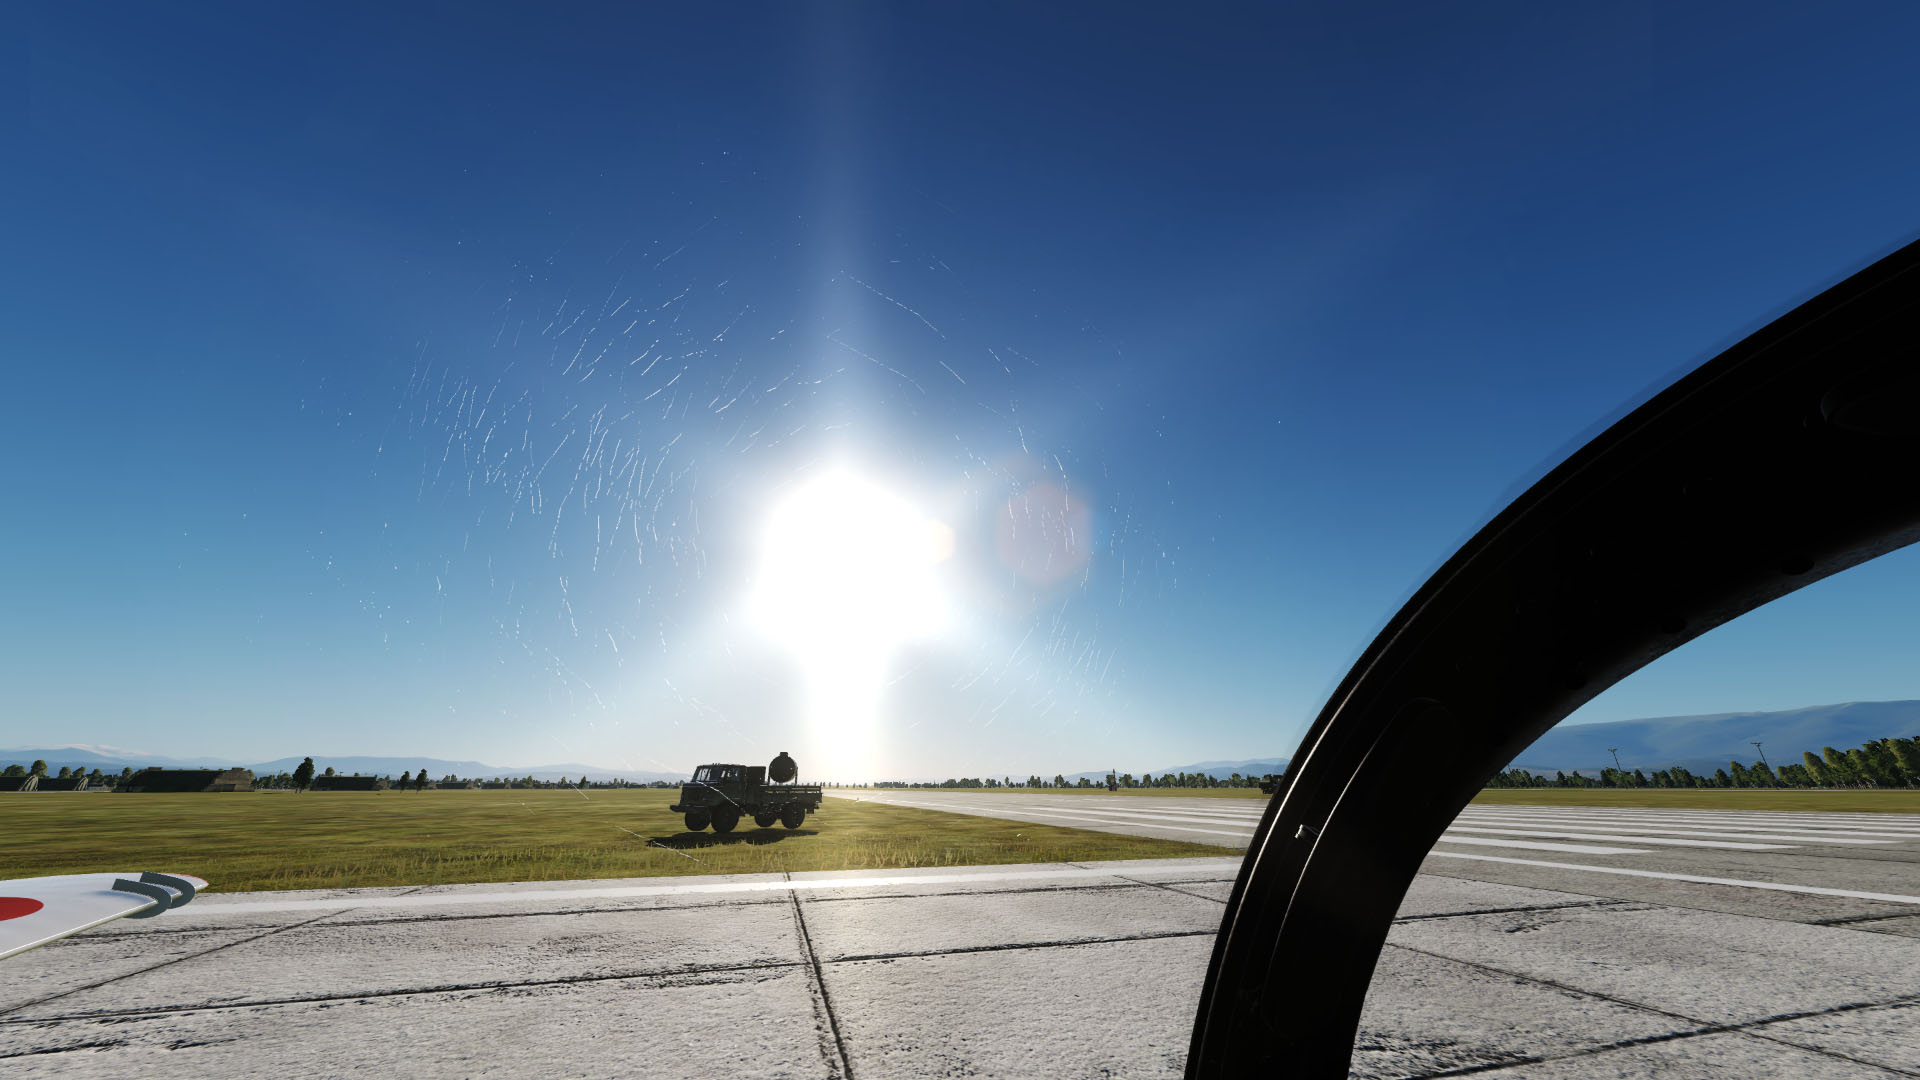
Then you roll onto the runway, align the aircraft with the centre line and roll straight ahead slightly to ensure that the nose wheel is straightened.
Runway behind you is wasted
Hold the aircraft on the Toe Brakes BRAKES ON PEDALS
- Give it a full power THROTTLE FULL HOTAS.
- Briefly check the engine instruments and warnings for any unusual values.
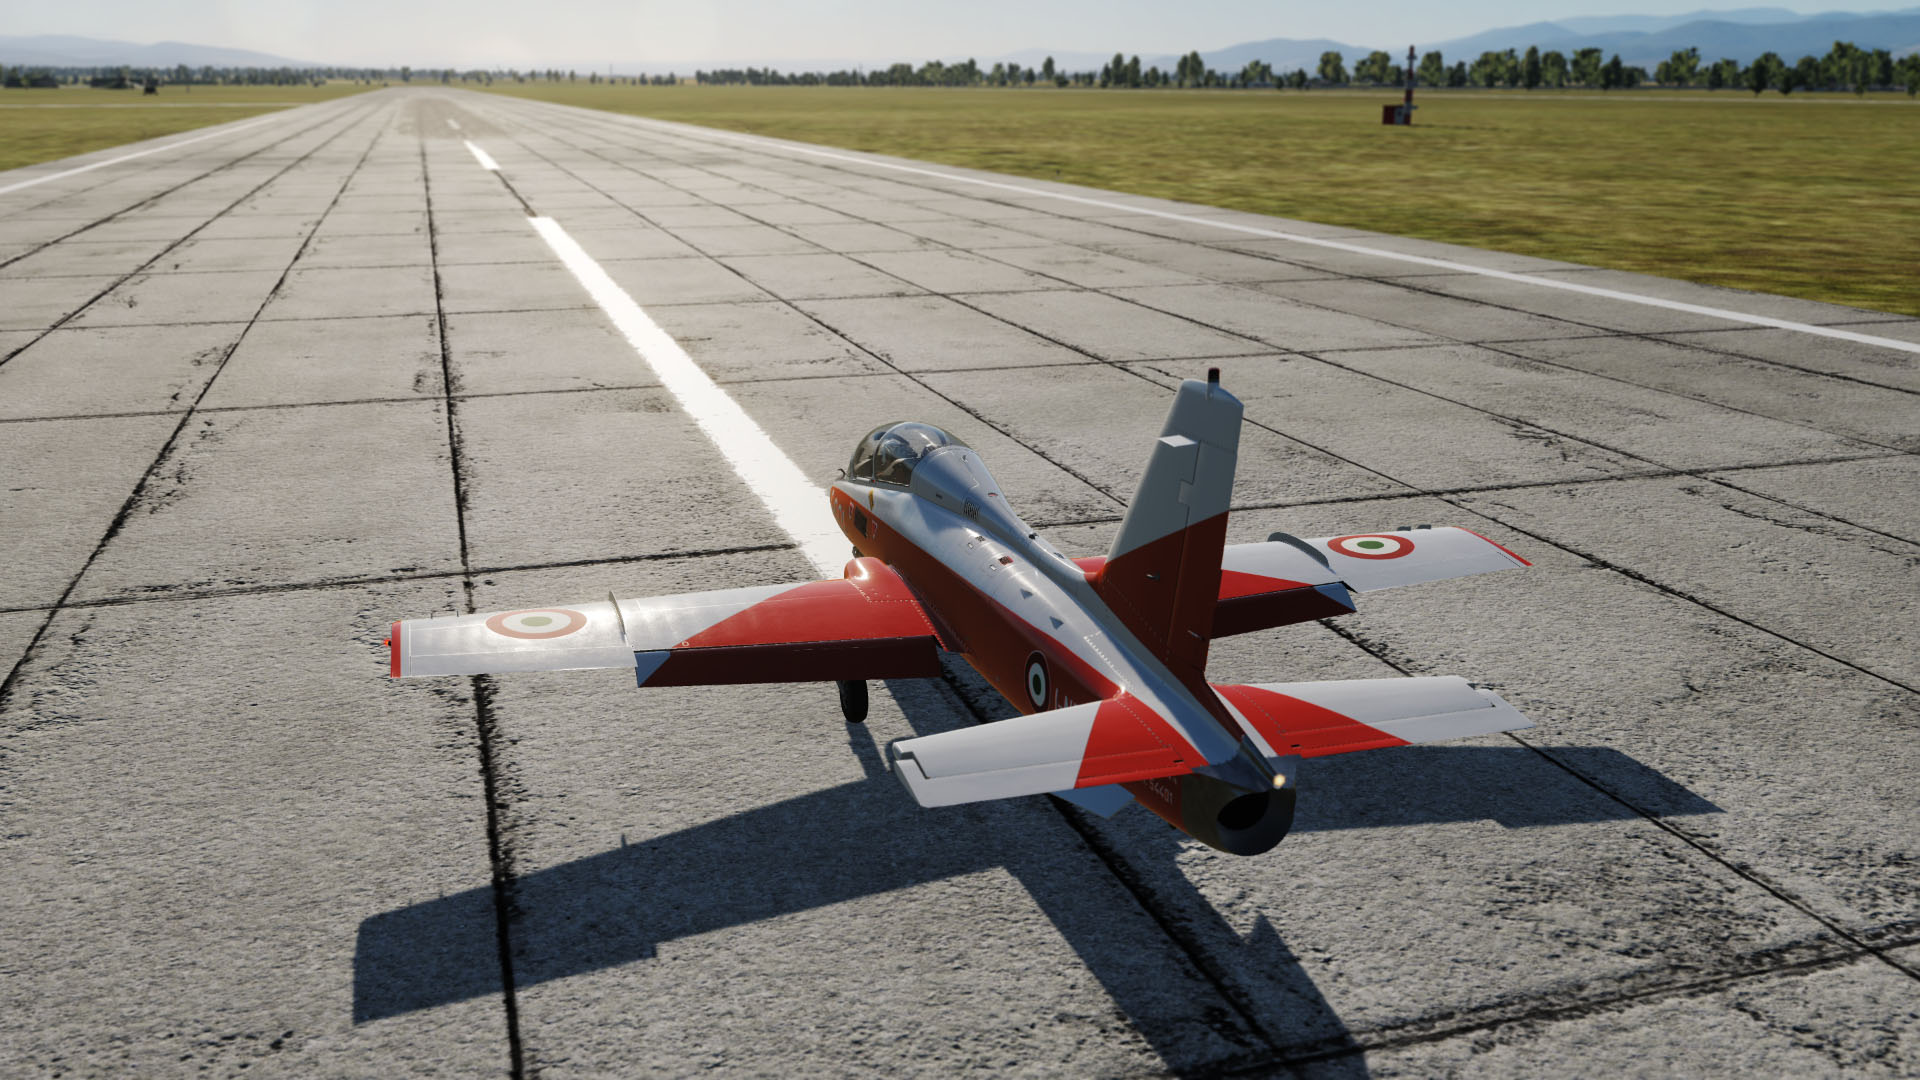
You are ready to go, but we will cover that in the next section.
Up Next
The next section continues with the Take-off.