F/A-18C Basic Course (DCS)
Simplified Procedures in Detail
8. Normal Landing
Every operation only ends successfully when the pilot and the machine reach the parking position without damage and can return the aircraft to the ground crew. To make sure that nothing is forgotten during landing, a procedure must be carried out again. This procedure begins with the radio call to the tower (ATC) and the declaration of intent to land.
This is followed by the approach and descent to IAF (Initial Approach Fix). This is a navigation point located a few miles from the runway. The goal is to arrive there at the appropriate altitude and speed and from there to land in a straight line (A stabilised Approach).
There are several possibilities to fly exactly to this invisible navigation point. But we take care of this in the advanced courses and explain the various approach procedures there.
However, all approach procedures end at a point before the runway. From then on, the same standard landing procedure is always performed. For the sake of simplicity, we will start at this point for the time being, without worrying about the approach procedures.
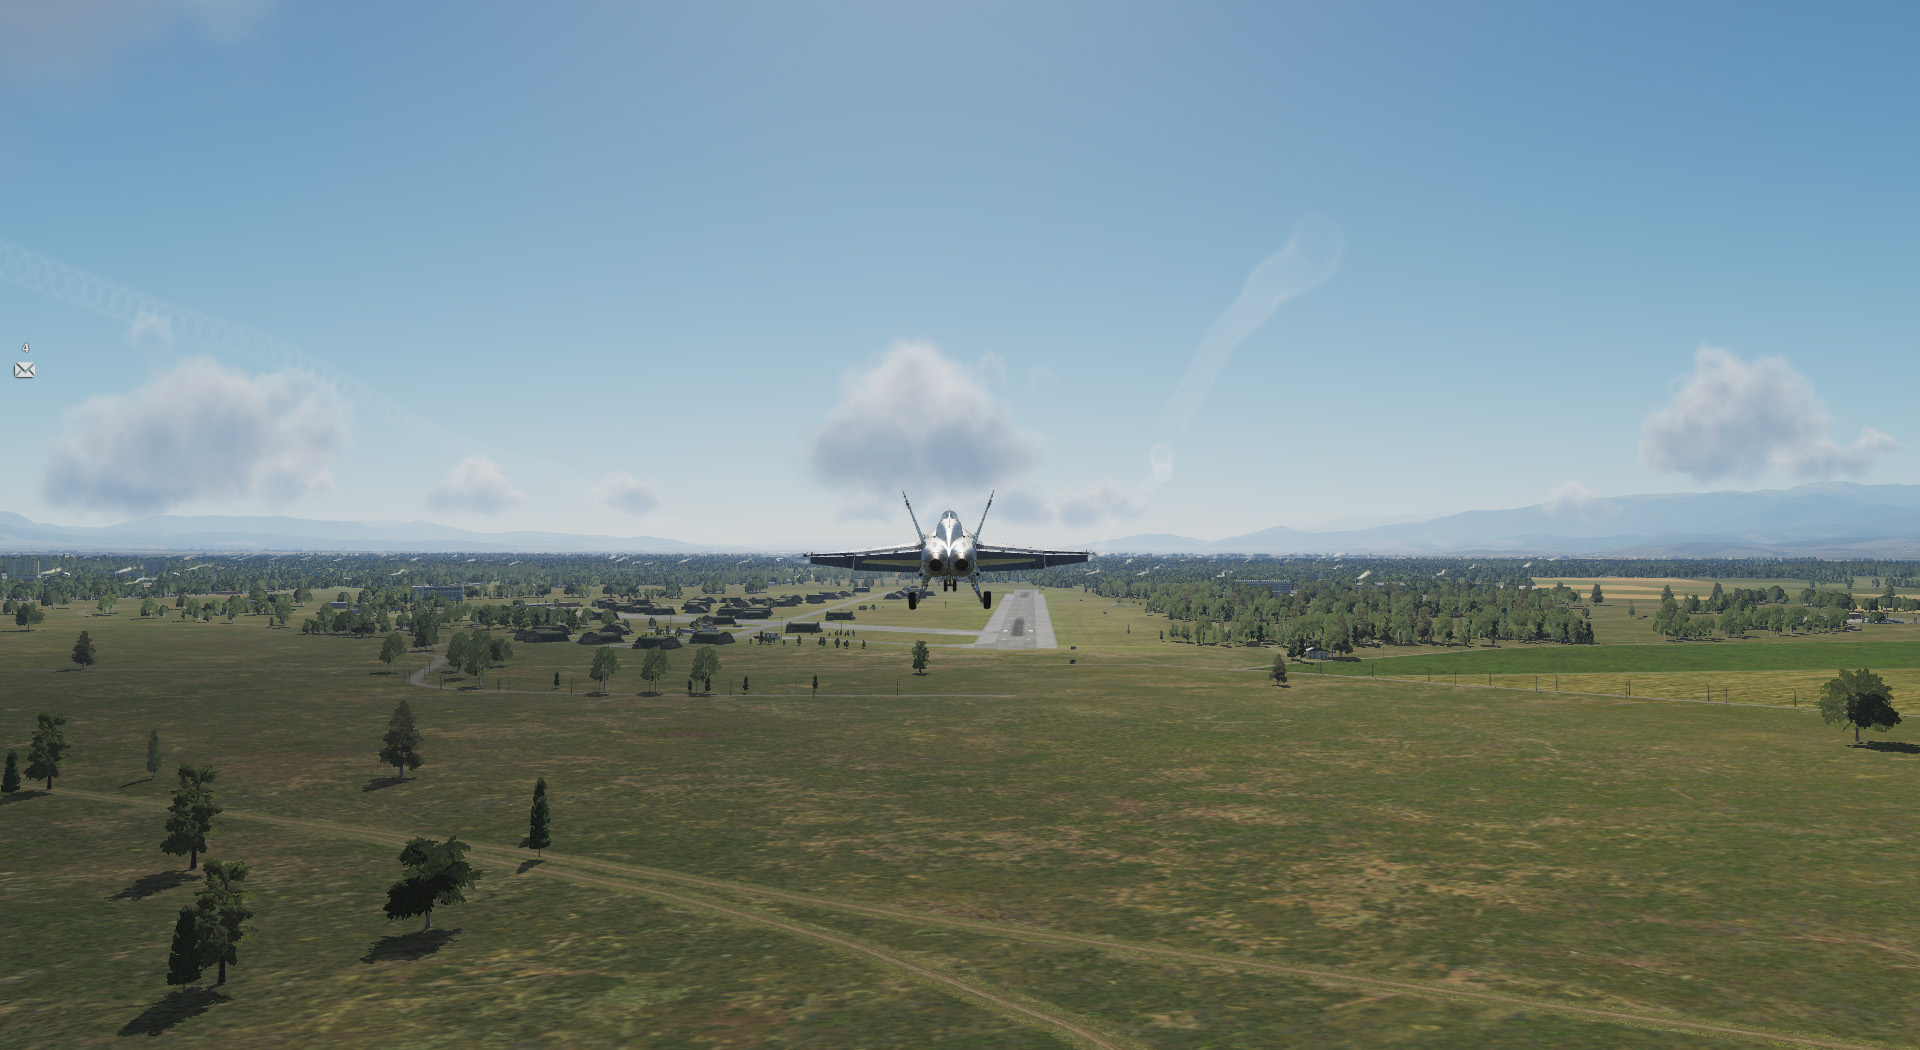
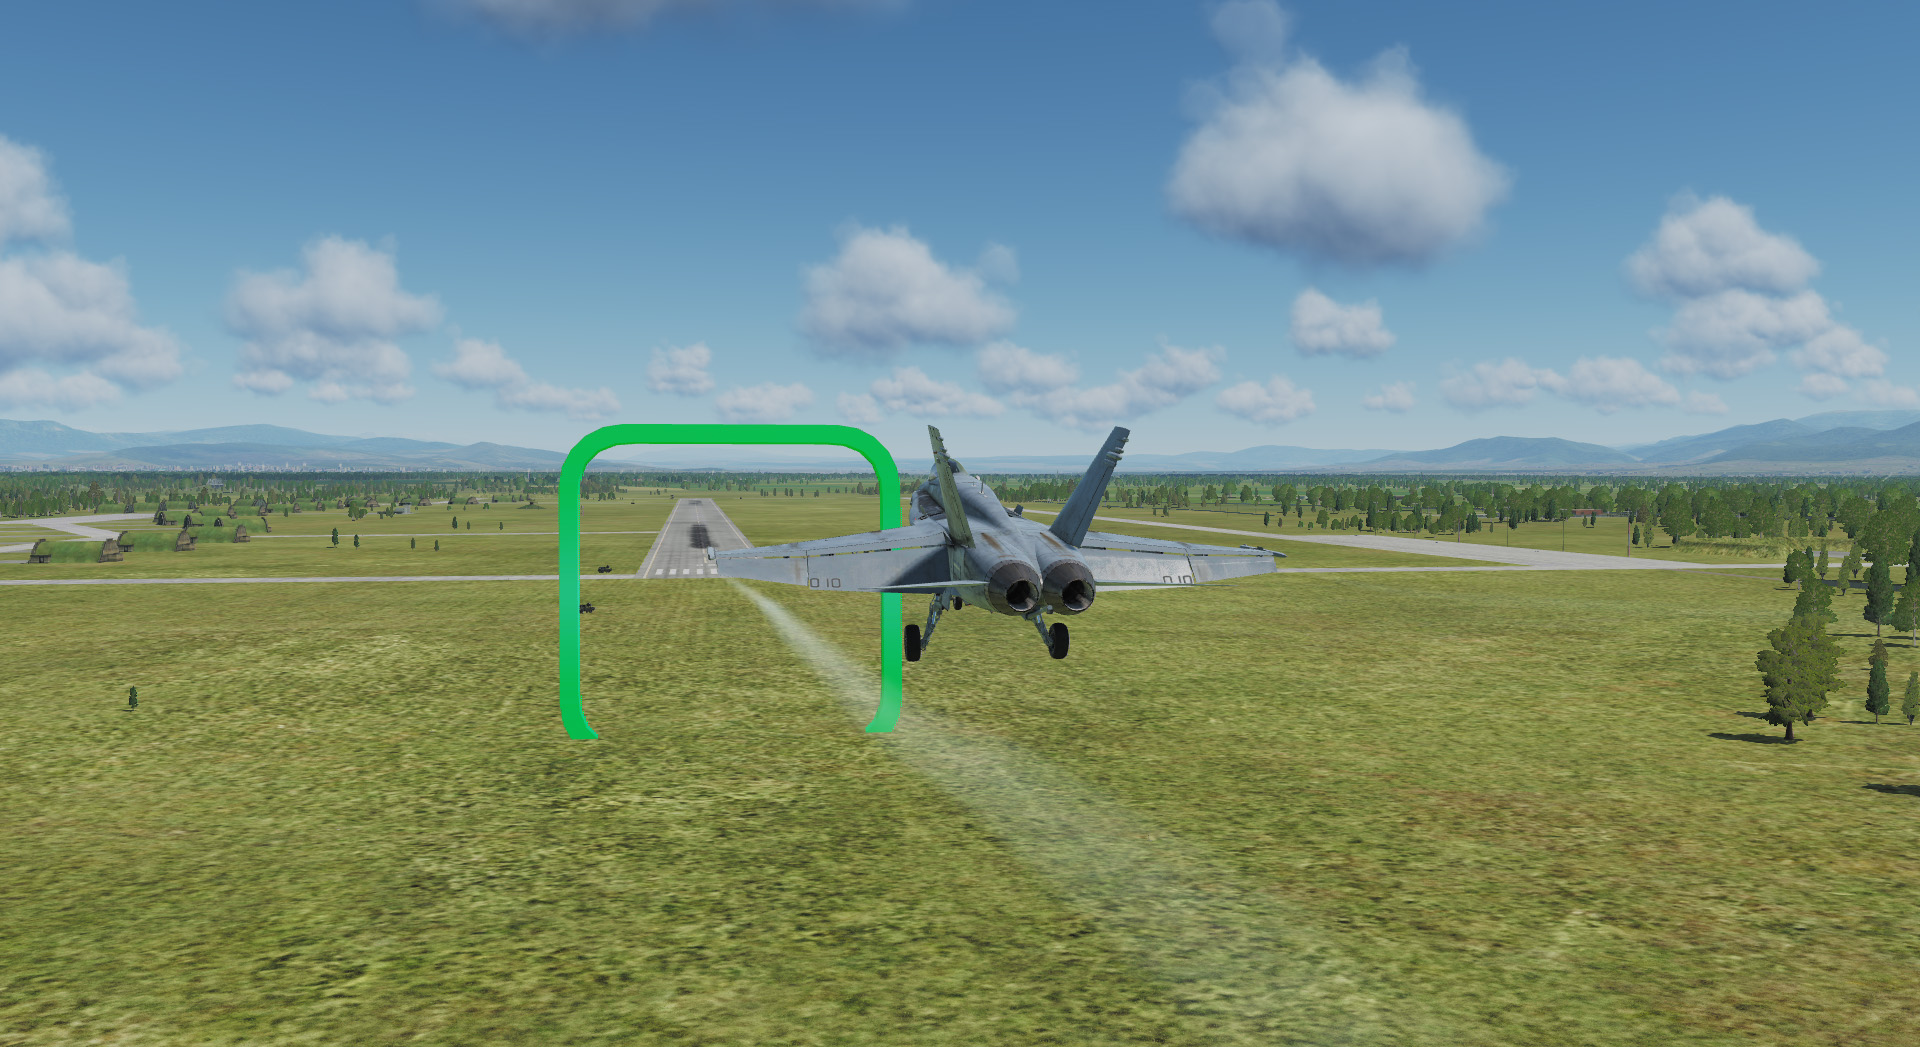
The F/A-18C (like many other aircraft) is designed to approach the airport on a 3° glide path. You will find a detailed description in the theory basic course in the section Standard landing with 3° glide path. In our training mission we have installed a visual aid in the form of green gates. They visually represent the 3° glide path. If you orientate yourself on them and follow the instructions below, this should work out quite well.
Exercise mission
It starts at a point 13 miles away from the airfield and at 3,400 feet altitude. Two miles ahead is the glide path at the same altitude. We have marked this point with the first green gate. Just fly towards it and work through the following list quickly. Once you reach the first gate, start descending to the next gate and continue working through the list.
This will freeze the aircraft in the air and stop it from moving. But unlike the normal pause, you can operate all systems and adjust everything at your leisure. When you are done, you switch off the active pause again and fly through the green gates.
Preparations
-
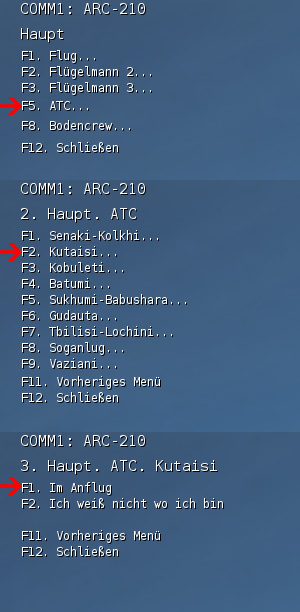
Radio the ATC of the destination airfield via VHF AM radio RAlt+# with the message of the landing intention (COMM1 Inbound). Normally this happens earlier, but to be allowed to land officially, you should do it now.
-
Now you should hear and see the following radio messages in the upper left corner

-
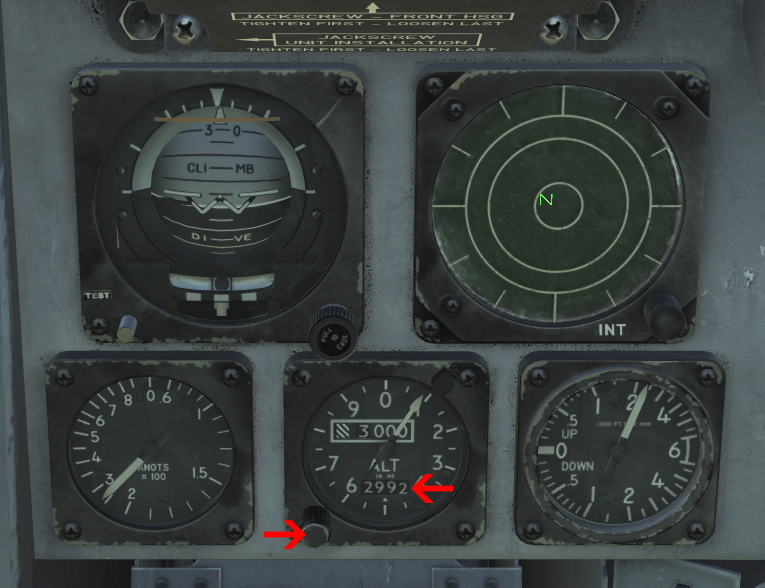
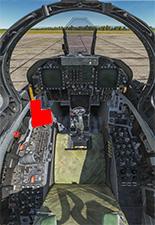
The answer includes information about which runway to use, the air pressure at the airfield (QFE) and that you should fly a few miles in a certain direction to get to the IAF point. The direction may vary depending on your current position. For this reason, the top of Figure 74 and the bottom of the cockpit picture shows 68.
You fly further and further through the gates towards the airport and reduce the speed.
Check the QFE that the ATC has reported to you and adjust it if necessary (Check QFE).
-
Switch on anti-collision lights and position lights (STROBE BRT / POSITION BRT).
- If required, also your formation lights (FORMATION BRT).
-
At some point in the course of the approach, the ATC reports again with the following message (COMM1 Request landing).

You answer with:
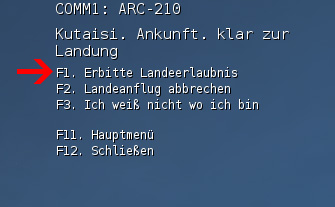

And you get another response:

-
Reduce speed and once you are below 250 knots, you can extend the landing gear (Check < 250 kts / GEAR DN)
-
Set the flaps fully down (FLAPS FULL).
-
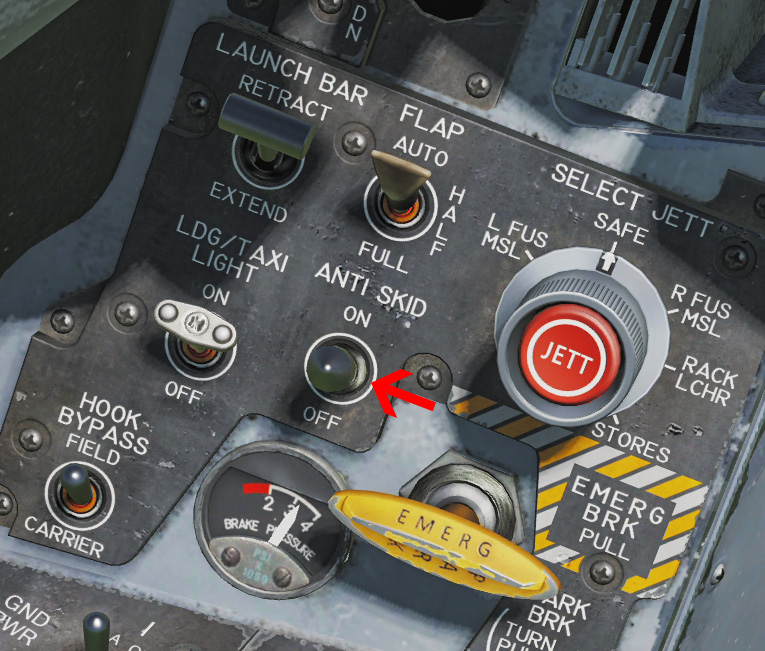
Switch on the anti-skid braking system (ANTI SKID ON).
-
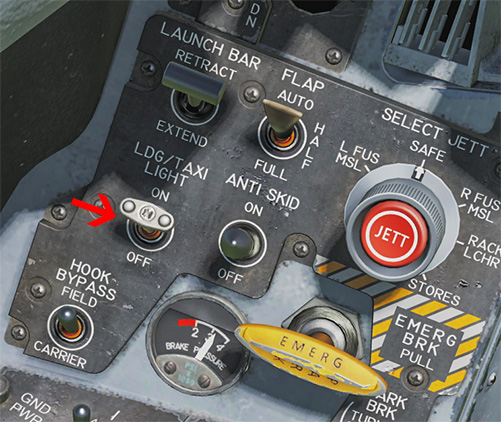
Switch on the landing lights (LDG LIGHT ON).
The preparations are now complete.
Descent
Start the descent at the first or at the latest at the second green gate on the landing course of 068°.
-
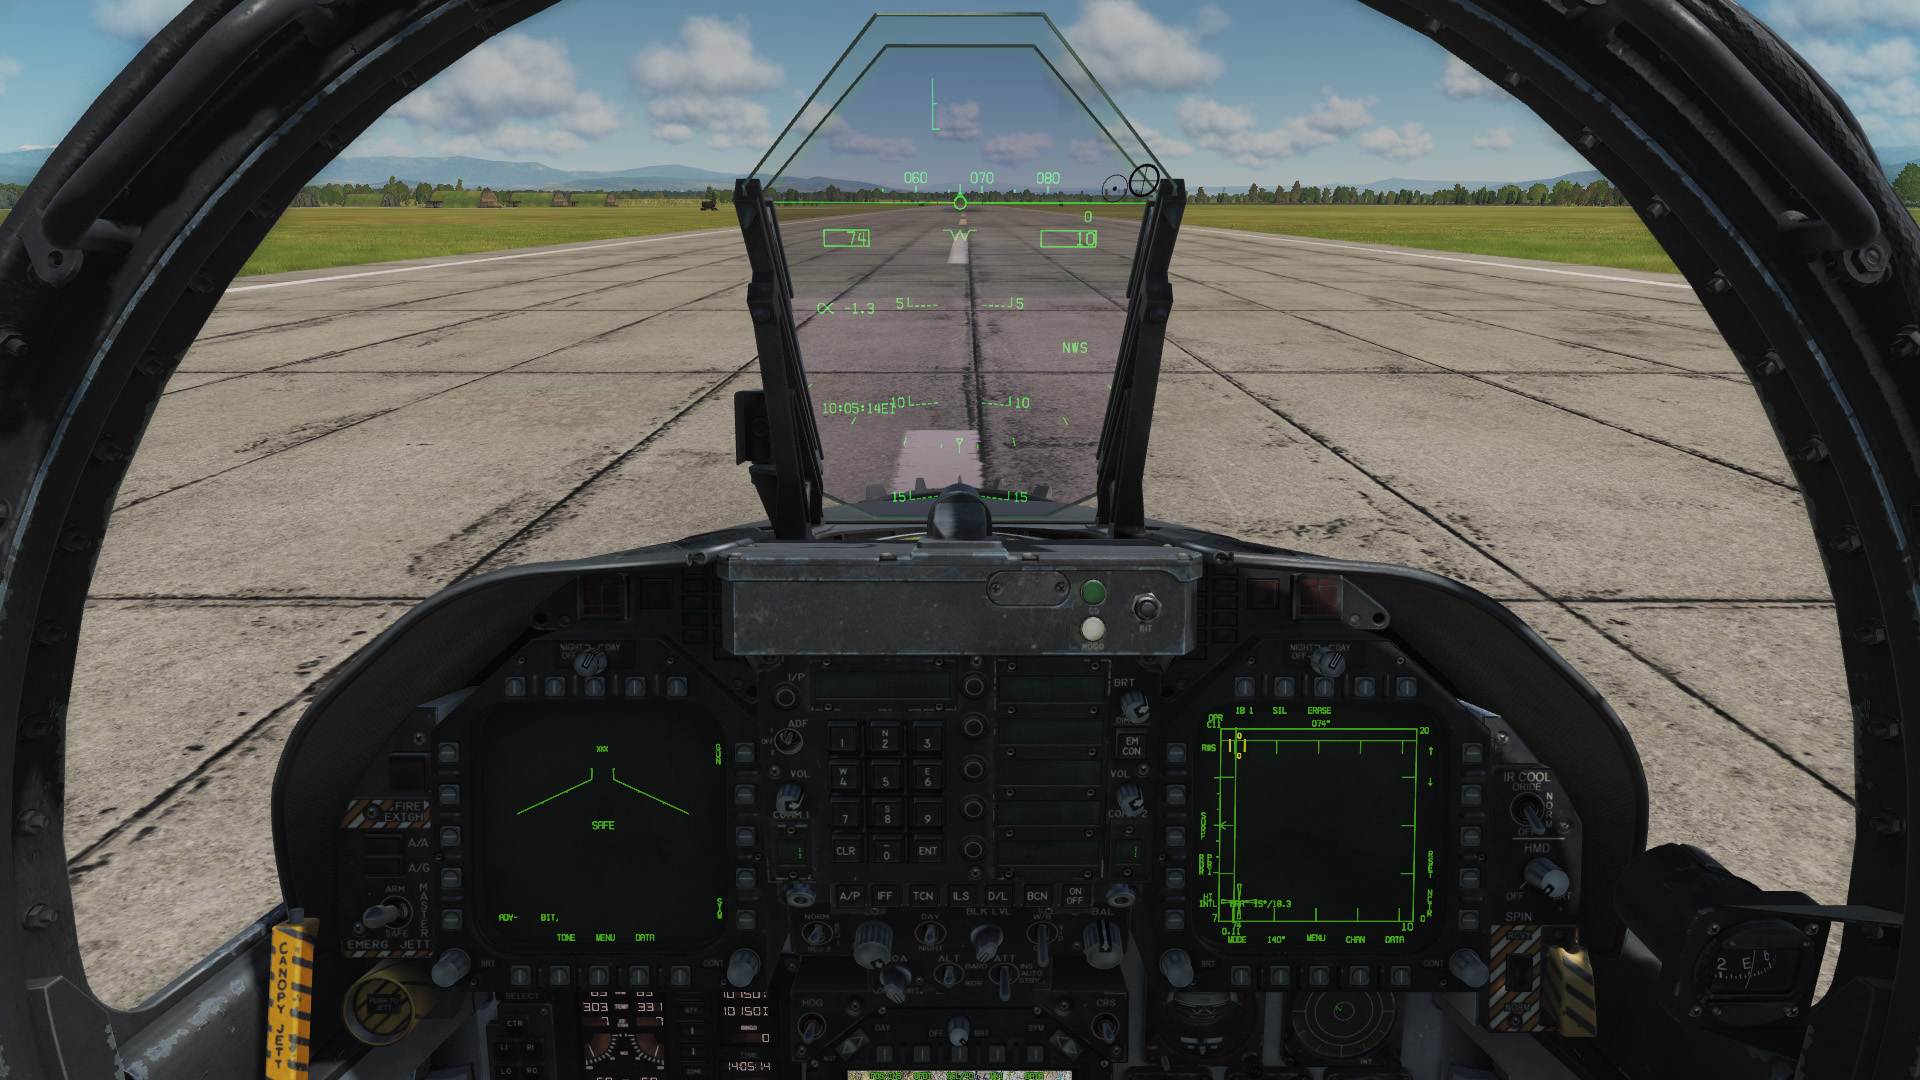
Place the flight path indicator (not the aircraft nose) on the runway using power changes. Compensate for deviations to the left or right, adding a little power each time a roll is required to compensate for th loss of lift.
-
The threshold of the runway must be at -3° (glide path) to you (in the gates).
-
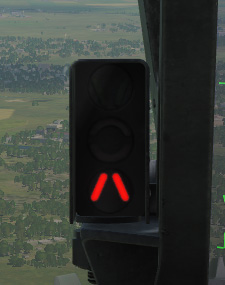
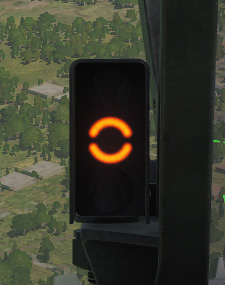
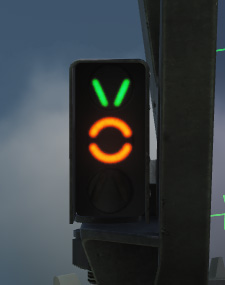
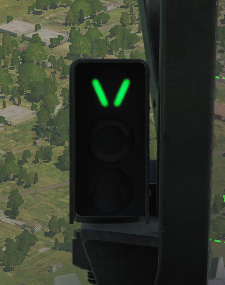
Note the AOA (Angle Of Attack) indicator to the left of the HUD. The goal for each landing is for it to display only the orange "doughnut" in the middle. To do this, reduce or increase the pitch trim switch RCtrl + . or RCtrl + ; .
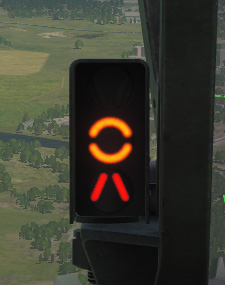
To fast
or
AOA to lowA little fast
or AOA is close
but still lowOn speed and
AOA is
perfectA little slow
or AOA is
a little highTo slow
or AOA
to high
-
Fly on the correct glide path (using power) and with the best possible AOA ( correcting with tiny trim blips ) towards the runway.
-
If your glide path is too steep (more than 3°), reduce power to set the flight path indicator to the ground in front of the runway. This will reduce your altitude and bring you closer to the correct glide path.
-
If you are too shallow (less than 3°), slightly increase thrust to set the flight path indicator beyond the runway threshold to get back up to the correct glide path.
-
-
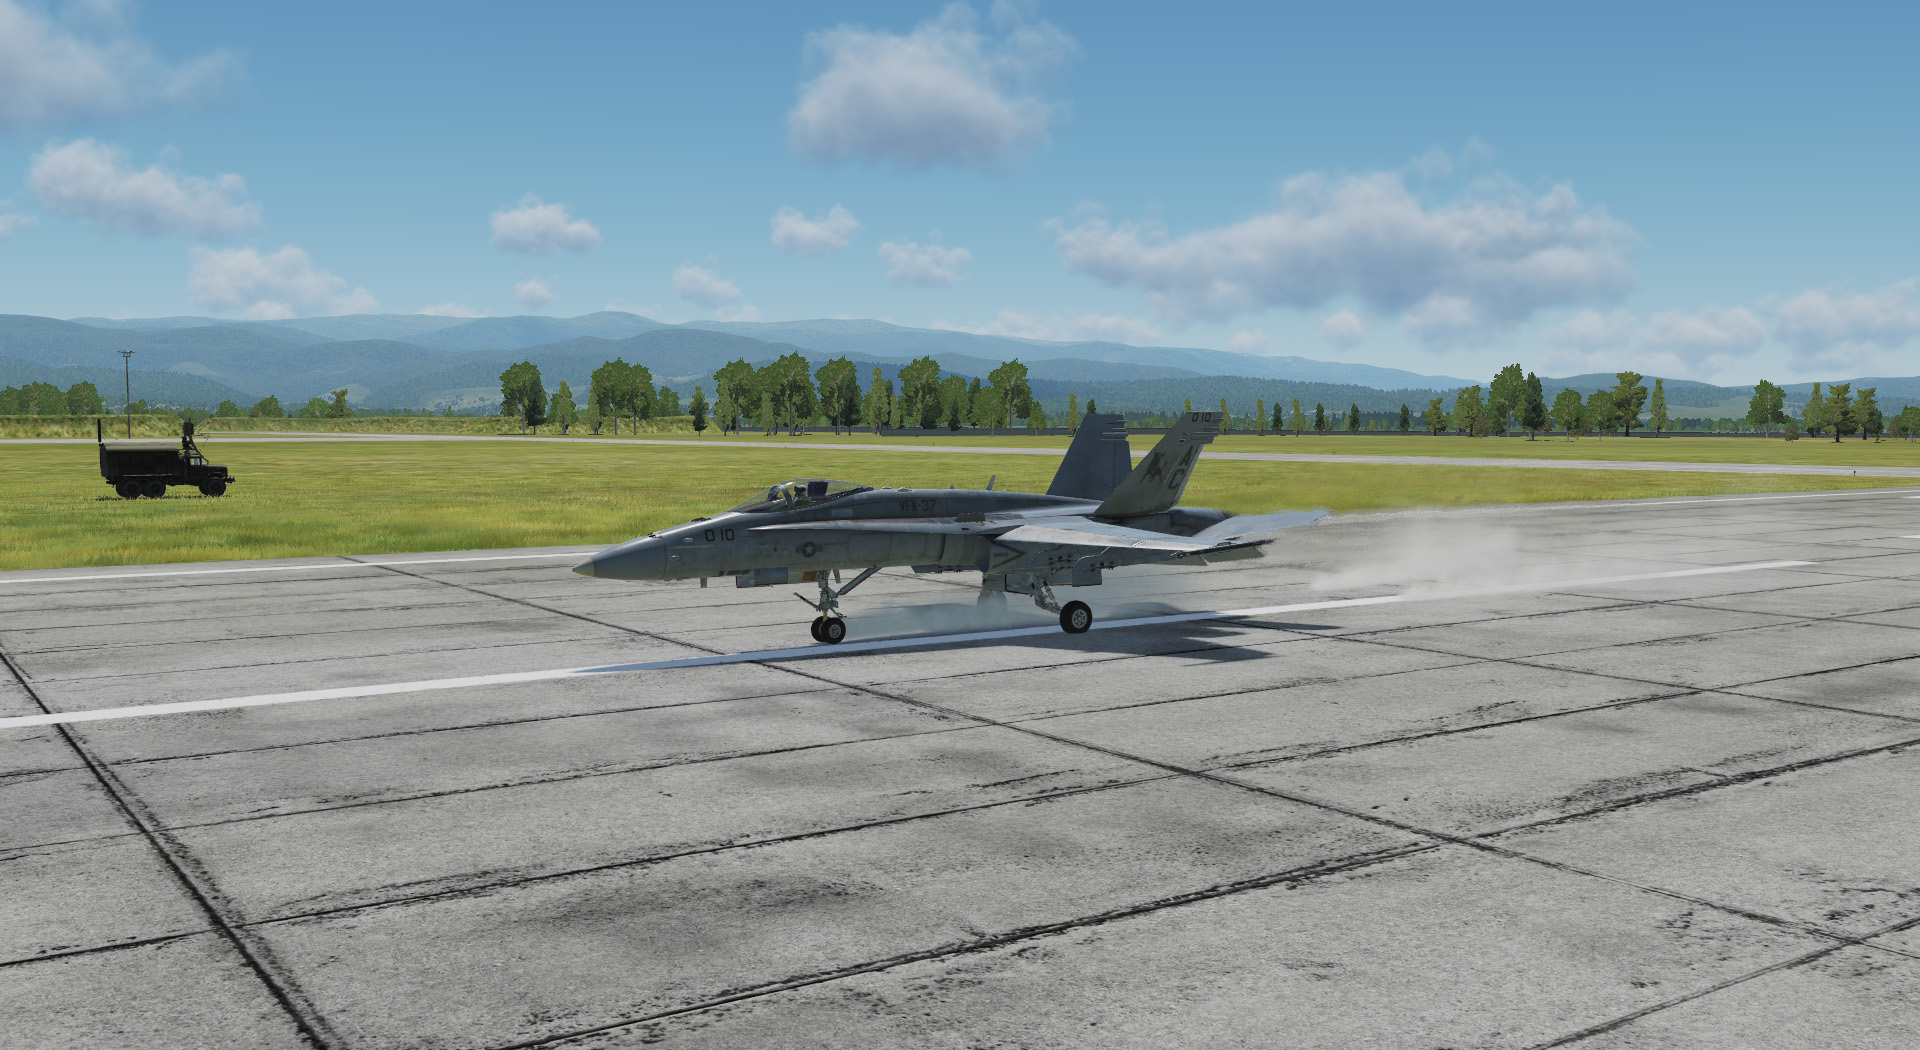
If your glide path and AOA are correct, maintain this attitude until you touch down just beyond the beginning of the runway.
-
When landing with the F/A-18C, a flare is not necessary and is not recommended. The F/A-18C's landing gear that will easily cope.
-
As soon as you touch down, set the throttle to Idle, apply the toe brakes W and, if you are flying online, report "<Callsign> Touchdown" via radio (OFS Teamspeak).
-
As the aircraft slows, the nose lowers and then brake to reduce speed more rapidly.
-
Hold the machine carefully with the rudder Y and X in the middle of the runway. The nose wheel control activates automatically as soon as weight is on the landing gear
-
Once you are slow enough, you can vacate the runway at the next exit.
-
By holding the S key you can set the nose wheel control to "HI" to use tighter turns. You must be very slow to avoid sliding over the nose wheel and damaging the tyres.
-
Having vacated the runway fully, come to a stop.
Now on to the After Landing Checks and taxi to the parking position in the next section.